


Magnetic Projector Screen Whiteboard Wallpaper - Technical Specifications

Coverage / Dimensions :
- 10m² / 1.22m x 8.25m
- 5m² / 1.22m x 4.12m
- 2m² / 1.22m x 1.64m
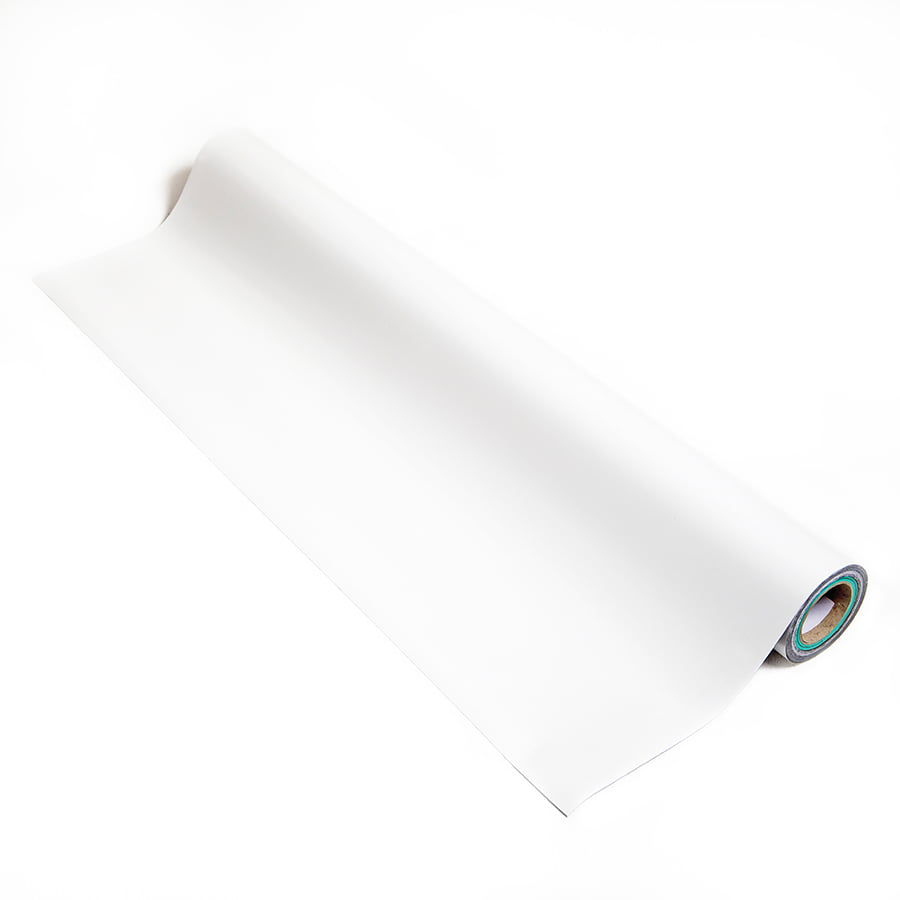
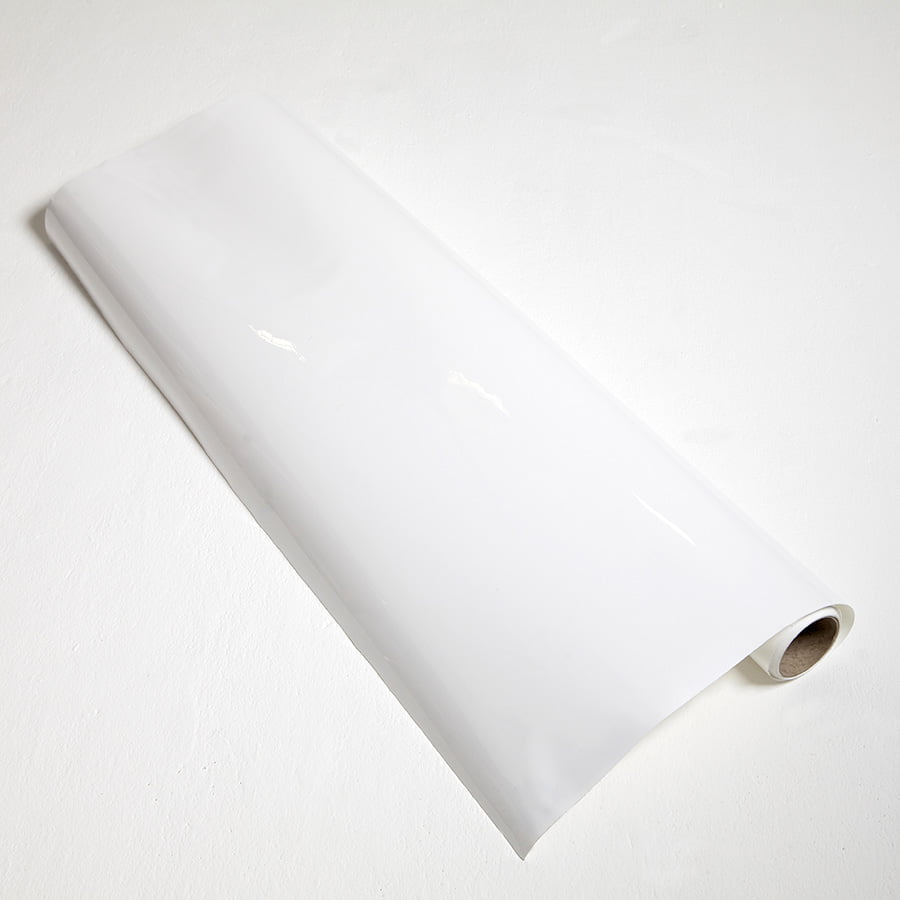
Product Colour: White (RAL: 9016)
Product Finish: Low Sheen
Gloss Measurement: 41 GU at 60 degrees
Gain Value: 1.1 at a viewing angle of 120 degrees
Material Thickness: .12”
Lighting: Normal ambient lighting
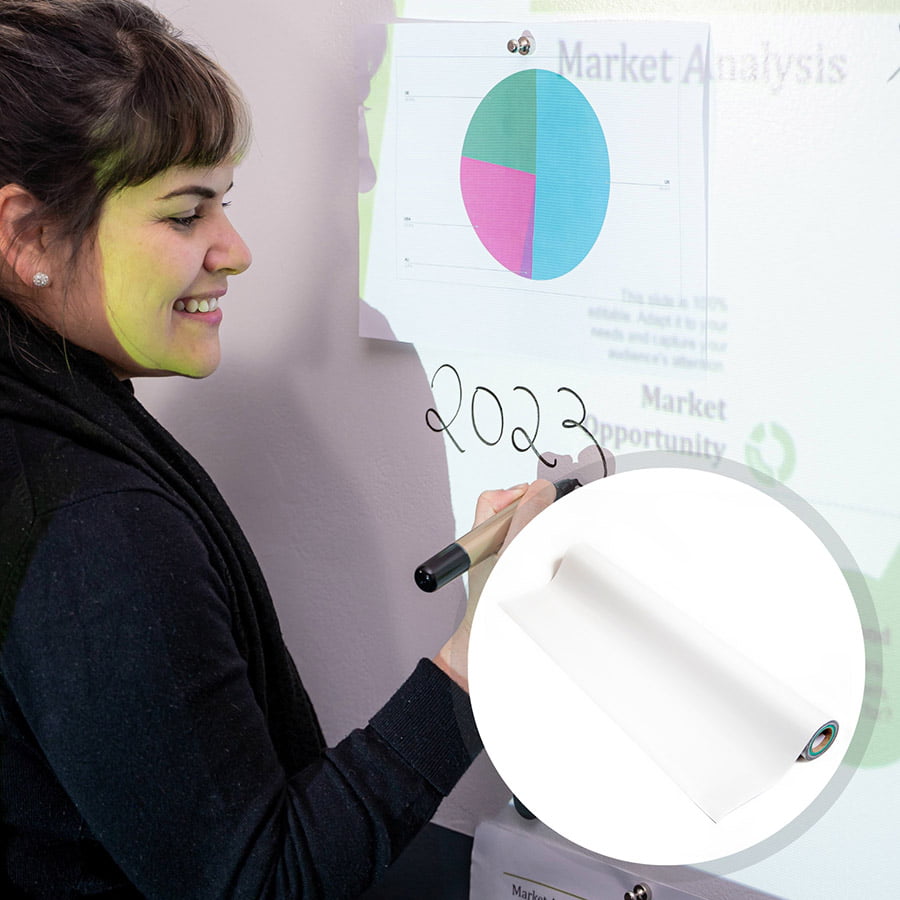
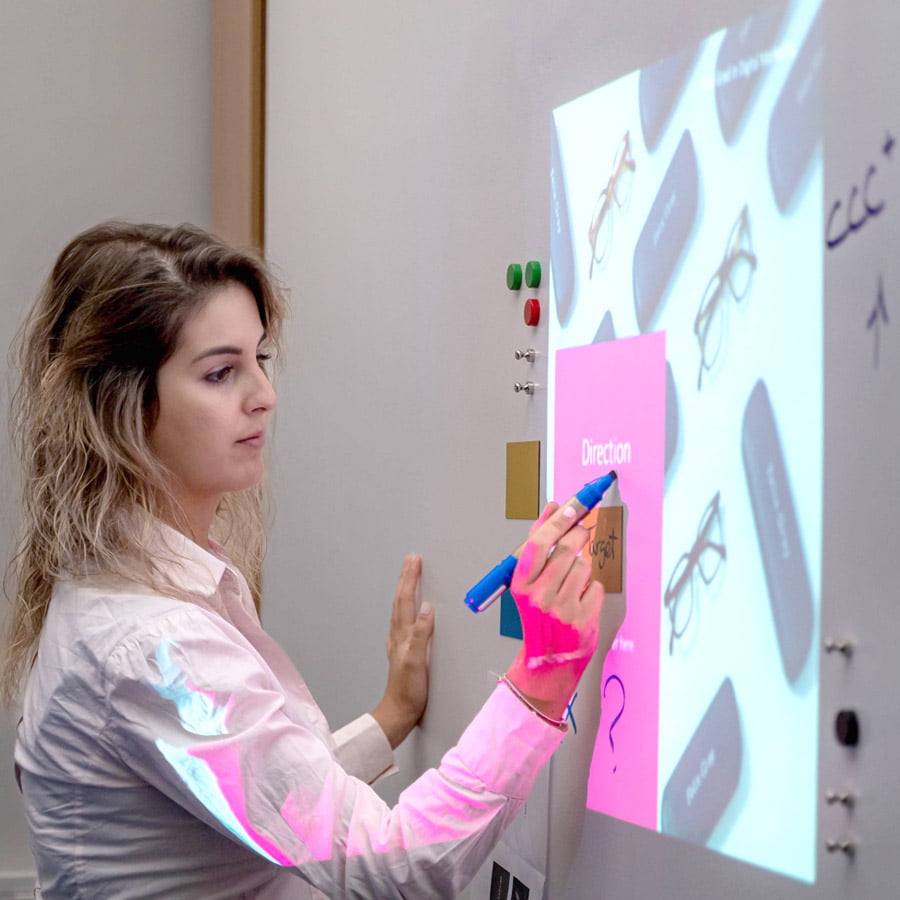
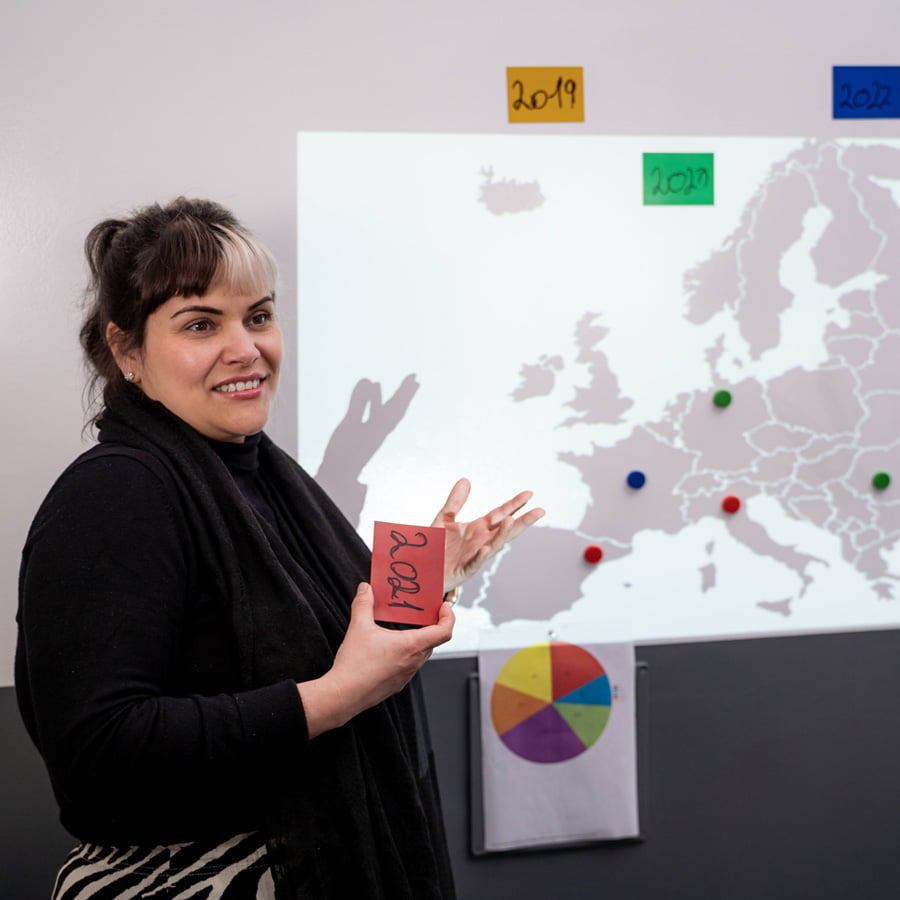
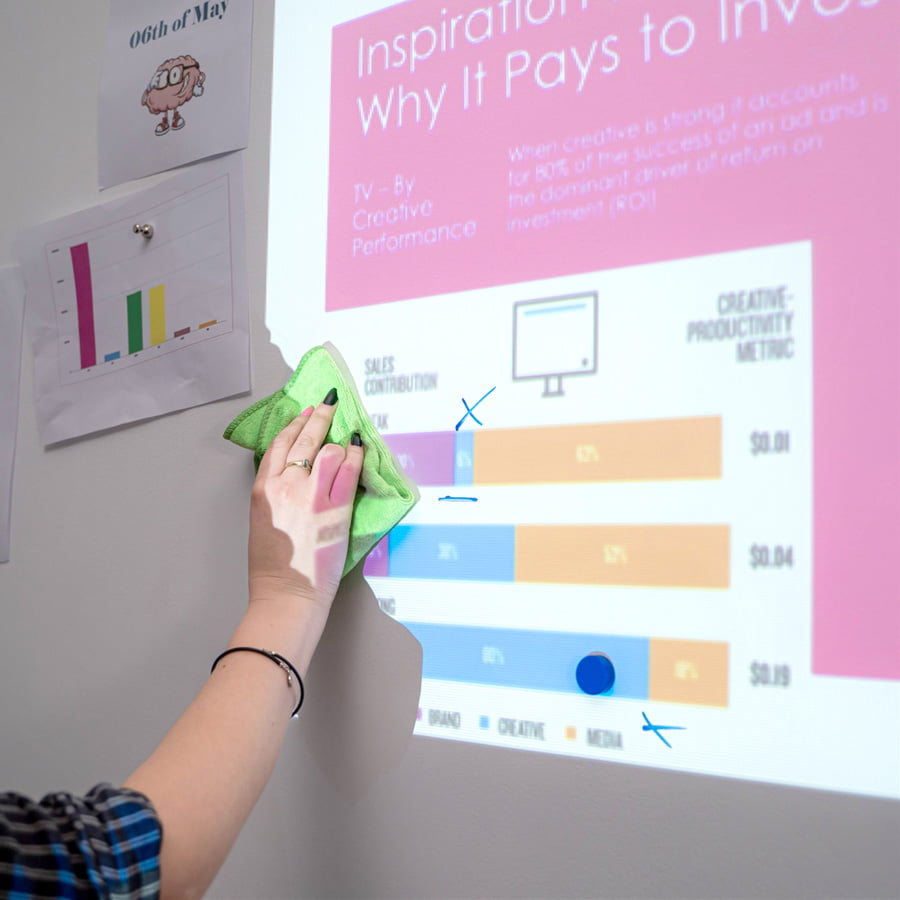
Performance: magnetic dry erase & projection with bright, sharp projection performance
Environmental (exceeds all EU standards): VOC free, solvent free, PFOA & PFOS free and isocyanates free
Certification: Independent Projection Performance Report – CREST, Independent Fire certification: ASTM E-84 Class A
Suitable Surfaces: Walls or any flat surface
Compare the performance and specifications:
Magnetic Product Buying Guide
With over a decade of expertise in whiteboard and projection technology, we’ve perfected the art of seamless surfaces.
Not sure which product fits the bill? Well, then let’s talk and help you clear the fog. Our expert team is available via chat, phone, email, or video call to offer expert guidance and tailored recommendations.
Need help with installation? We’ll steer you in the right direction so you can apply with confidence.
Explore More Products From Smarter Surfaces


Smart Self Adhesive Whiteboard Film – Low Sheen
From €104.00 ex.VAT Select options This product has multiple variants. The options may be chosen on the product page
Whiteboard Wallpaper
From €135.00 ex.VAT Select options This product has multiple variants. The options may be chosen on the product pageSmart Whiteboard Wallpaper – Low Sheen
From €156.00 ex.VAT Select options This product has multiple variants. The options may be chosen on the product pageMagnetic Whiteboard Wallpaper
From €219.00 ex.VAT Select options This product has multiple variants. The options may be chosen on the product page


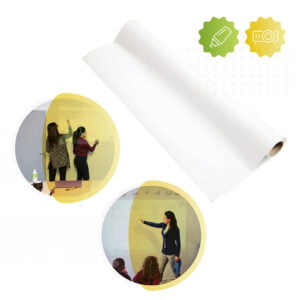


Magnetic Projector Screen Whiteboard Wallpaper installation
Our Magnetic Projector Screen Whiteboard Wallpaper offers a seamless combination of whiteboard and projection functionality with the added benefit of a magnetic surface. Designed for easy installation, it is ready to use within 48 hours and can be applied to flat or curved surfaces. For an optimal user experience, we recommend horizontal installation to maintain an ergonomic working height.
Installation Guide for Magnetic Projector Screen Whiteboard Wallpaper
- Surface Preparation – Ensure the wall is smooth, clean, and dry before application.
- Measurement & Cutting – Roll out the wallpaper, measure the required length, and cut with precision using sharp scissors.
- Adhesive Application – Apply two coats of vinyl-over-vinyl adhesive to the wall for a secure bond.
- Wallpaper Installation – Hang the wallpaper as you would a traditional wallcovering, using a hard spatula to eliminate air bubbles and excess adhesive. Wipe the surface clean with a damp cloth.
A detailed application guide is available to provide further assistance, and a step-by-step installation video can be accessed for visual reference.
To evaluate the product's performance before purchase, you may request a sample pack.
For any enquiries or technical support, please contact our customer service team, who will be happy to assist you.
![]() A full application guide to help you apply our Magnetic Projector Screen Whiteboard Wallpaper.
A full application guide to help you apply our Magnetic Projector Screen Whiteboard Wallpaper.
